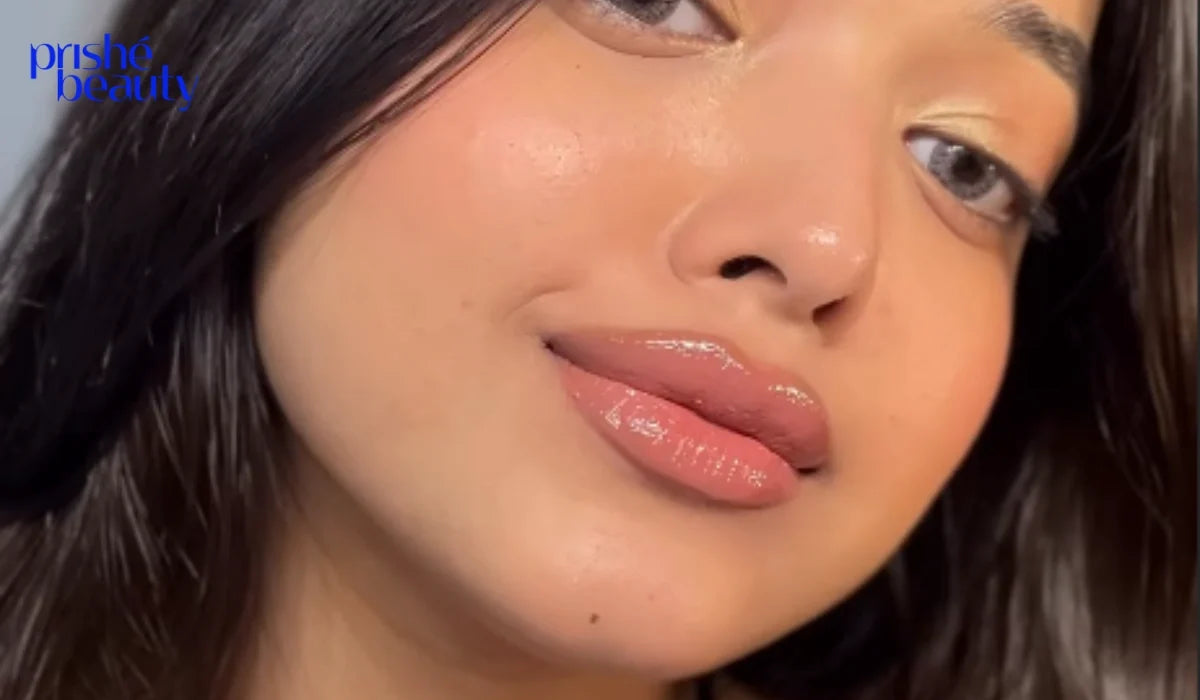

Blending eyeshadow perfectly can make your eye makeup look smooth, beautiful, and professional. However, if you are a beginner, you may struggle with harsh lines, uneven colours, or eyeshadow that looks patchy. The good news is that you do not need expensive products or advanced makeup skills to create a flawless eye look.
Learning how to blend eyeshadow is all about choosing the right shades, using suitable brushes, and applying colours with gentle movements. With a little practice, you can create everything from a soft everyday look to a bold, glamorous style.
In this guide, you will learn how to blend eyeshadow step by step, avoid common mistakes, and make your eye makeup last longer. Whether you are getting ready for college, work, a party, or a special occasion, these simple techniques will help you achieve a smooth and well-blended finish.
What Does Blending Eyeshadow Mean?
Eyeshadow blending is the process of mixing different eyeshadow colours together so that they transition smoothly without visible lines or uneven patches.
For example, when you apply a light brown shade to your crease and a darker brown shade to the outer corner, blending helps the two colours look connected rather than separate.
Good blending makes your eye makeup look softer, more balanced, and more natural. It also helps you control the intensity of each shade.
The secret is simple: use light pressure, build colour gradually, and blend patiently.
What Do You Need to Blend Eyeshadow Perfectly?
Before you begin, collect a few basic makeup products and tools. You do not need a large makeup collection to get started.
1. An Eyeshadow Palette
Choose an eyeshadow palette with at least three shades: a light shade, a medium transition shade, and a darker shade.
Neutral colours such as beige, peach, soft brown, and chocolate brown are excellent for beginners because they are easy to work with.
You can explore Eye Got This Eyeshadow from Prishe Beauty for inspiration when choosing shades for your eye makeup routine.
2. The Right Eyeshadow Brushes
Using the right brushes makes blending much easier.
-
Fluffy blending brush: Helps soften harsh lines and blend colours into each other.
-
Flat eyeshadow brush: Applies colour to the eyelid with better control.
-
Small blending brush: Adds detail to the crease and outer corner.
-
Pencil brush: Helps blend eyeshadow close to the lash line.
If you have only one fluffy blending brush, you can still create a beautiful look. Just clean the brush between darker and lighter shades.
3. Eyeshadow Primer or Concealer
An eyeshadow primer creates a smooth base and helps your eyeshadow stay in place. A small amount of suitable concealer can also work as a base when used carefully.
Avoid applying too much product because a thick, sticky layer can make eyeshadow harder to blend.
How to Blend Eyeshadow Perfectly Step by Step
Follow these simple steps to create a smooth, beginner-friendly eyeshadow look.
Step 1: Prepare Your Eyelids
Start with clean, dry eyelids. If your eyelids are oily, gently remove excess oil before applying makeup.
Apply a thin layer of eyeshadow primer or a suitable base. Blend it evenly across the eyelid and allow it to settle.
A smooth base helps the eyeshadow apply more evenly and makes it easier to blend eyeshadow without creating patchy areas.
Step 2: Apply a Light Transition Shade
Choose a soft brown, peach, or beige shade that is slightly darker than your natural skin tone.
Using a fluffy blending brush, apply the colour to your crease with gentle back-and-forth movements. Your crease is the area where your eyelid folds when your eyes are open.
Keep your hand relaxed and use small circular motions to distribute the colour evenly.
This transition shade creates a soft base for the darker colours you will apply later.
Step 3: Add a Medium Shade to the Crease
Choose a medium shade that complements your transition colour. For example, pair light brown with warm brown or peach with soft terracotta.
Apply the shade slightly below or within your crease, concentrating most of the colour near the outer half of the eye.
Use gentle windshield-wiper motions to blend the colour back and forth. Then use small circular movements to soften any visible edges.
When you blend eyeshadow, avoid pressing the brush too hard against your eyelid. Gentle movements give you more control and help prevent uneven colour.
Step 4: Apply a Darker Shade to the Outer Corner
Choose a darker shade, such as deep brown, plum, or charcoal, depending on the look you want.
Pick up a small amount of product and tap off the excess. Apply it to the outer corner of your eyelid in a small V shape.
Use a smaller blending brush to soften the edges, gradually connecting the darker shade with the medium colour.
Keep the darkest colour near the outer corner instead of spreading it across the entire eyelid. This creates dimension without making your eye makeup look too heavy.
Step 5: Blend the Colours Together
This is the most important step.
Take a clean, fluffy blending brush and gently move it along the areas where the colours meet. Use small circular motions to remove harsh lines.
Avoid adding more eyeshadow immediately. First, check whether the colours already look smooth.
If you notice a visible line between two shades, use the transition shade to soften the boundary. Continue with light movements until the colours appear connected.
Remember, blending does not mean mixing every colour until it loses its identity. Each shade should remain visible while transitioning smoothly into the next.
Step 6: Brighten the Centre of Your Eyelid
For a more polished look, apply a light or shimmery shade to the centre of your eyelid.
Use a flat brush or your fingertip to press the product gently onto the lid. Avoid dragging the shimmer across the entire eye.
If the shimmer creates a sharp edge, lightly blend around its border without removing too much colour.
This step adds brightness and makes your eyeshadow look more dimensional.
Step 7: Finish the Lower Lash Line
Apply a small amount of your medium or darker shade along the lower lash line using a small brush.
Blend the colour gently so that it looks soft rather than like a harsh stripe. Keep the application light if you want a natural everyday look.
Finish with eyeliner and mascara if desired.
Take a final look at both eyes in natural lighting and make small adjustments where needed.
Best Eyeshadow Blending Techniques for Beginners
Once you understand the basic steps, these techniques can help improve your results.
Use the Right Amount of Product
One common mistake is applying too much eyeshadow at once. Heavy application can make colours difficult to blend and create muddy patches.
Start with a small amount and build the colour gradually. It is easier to add more pigment than to remove excess product.
Keep Your Blending Brush Light
Hold your brush closer to the end of the handle rather than gripping it tightly near the bristles. This encourages a lighter touch.
Use short, controlled movements around the edges of each shade.
Blend One Colour at a Time
Apply and blend each shade before moving on to the next. This gives you better control over the final result.
When you blend eyeshadow in layers, the colours are more likely to look smooth and balanced.
Choose Colours That Work Together
For beginners, using shades from the same colour family is often easier than combining several contrasting colours.
Try combinations such as:
-
Beige, light brown, and chocolate brown.
-
Peach, coral, and warm terracotta.
-
Soft pink, mauve, and plum.
-
Champagne, bronze, and deep brown.
Choose shades that suit your personal style and the occasion.
Common Eyeshadow Blending Mistakes to Avoid
Even with the right products, a few small mistakes can affect your results.
Applying too much eyeshadow: Heavy layers can create patchy colour. Apply less product and build intensity slowly.
Using one brush for every shade: Dark pigment can transfer into lighter colours. Clean your brush between shades or use separate brushes.
Blending too aggressively: Excessive rubbing can remove colour and make the eyeshadow look uneven. Use gentle, controlled movements.
Skipping the transition shade: Without a transition colour, darker shades may look harsh. Use a soft middle shade to connect the colours.
Choosing the wrong base: A thick or oily base can cause creasing and uneven application. Apply a thin layer of primer and allow it to settle.
Ignoring both eyes equally: One eye may have more colour or a different shape. Compare both eyes in good lighting and adjust them gradually.
How to Make Your Eyeshadow Look Smooth and Last Longer
If you want your eye makeup to look fresh throughout the day, follow a few simple habits.
-
Use an eyeshadow primer suitable for your eyelids.
-
Apply eyeshadow in thin layers instead of one thick layer.
-
Avoid rubbing your eyes after completing your makeup.
-
Clean your makeup brushes regularly to remove product buildup.
-
Use a setting spray if it suits your makeup routine.
-
Check your makeup in natural lighting before leaving home.
You can also explore Prishe Beauty for makeup inspiration and products to complement your beauty routine.
Frequently Asked Questions
1. How long does it take to blend eyeshadow perfectly?
Beginners may need around 10–15 minutes to create a simple blended eyeshadow look. With regular practice, you can become faster and more confident.
2. Which brush is best for blending eyeshadow?
A fluffy blending brush is the best starting point for most beginners. It helps soften harsh lines and blend transition shades smoothly.
3. Can I blend eyeshadow without a blending brush?
Yes. You can use a clean, soft makeup brush or carefully use your fingertip for certain cream and shimmer formulas. However, a fluffy brush usually provides better control for blending powder eyeshadow.
4. Why does my eyeshadow look patchy after blending?
Patchiness can happen because of an uneven base, too much product, oily eyelids, or poor-quality brushes. Use a thin primer layer, apply less product, and blend gently.
5. How do I blend two eyeshadow colours without making them muddy?
Choose colours that complement each other, apply them in thin layers, and blend only where they meet. Clean your brush between shades to prevent unwanted colour mixing.
6. Should I blend eyeshadow before or after applying eyeliner?
For most eyeshadow looks, apply and blend your eyeshadow first, then add eyeliner. If you want a soft, smoky eyeliner effect, you can gently blend the eyeliner after applying it.
7. How can beginners blend eyeshadow for everyday makeup?
Start with a light transition shade in the crease, add a medium shade to the outer half of the eyelid, and soften the edges with a fluffy brush. Finish with mascara for a simple everyday look.
Conclusion
Learning how to blend eyeshadow perfectly becomes easier when you understand the basics and practise regularly. Start with a few complementary shades, use the right brushes, and apply your eyeshadow in light layers.
Remember to prepare your eyelids, blend harsh lines gently, and build colour gradually. You do not need professional skills to create beautiful eye makeup; patience and the right techniques make a real difference.
Whether you prefer a natural everyday look or a glamorous evening style, these tips will help you blend eyeshadow with greater confidence. Explore different shades, experiment with your favourite combinations, and enjoy developing your own makeup style.