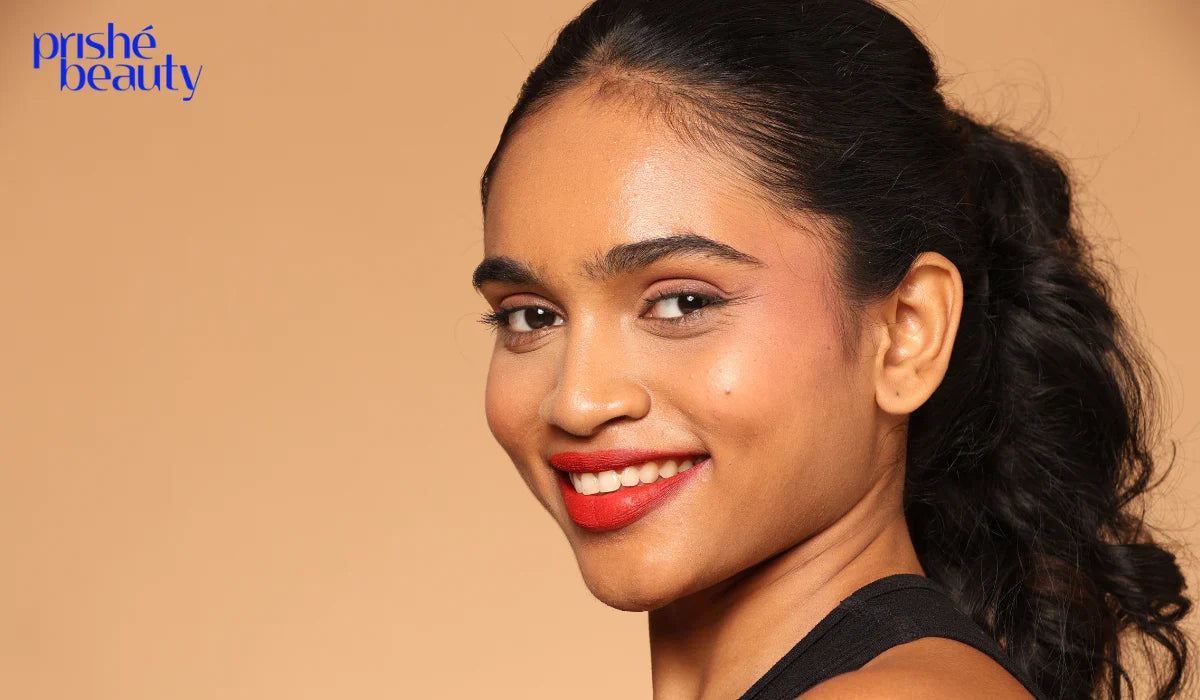
If you are new to makeup, one of the most common questions is where to put blush and highlight. These two simple steps can completely change your look by adding color, glow, and dimension to your face. But placing them correctly is the key to getting that natural and fresh finish.
In this beginner-friendly guide, you will learn exactly where to put blush and highlight, based on your face shape, skin type, and desired look. Whether you want a soft everyday glow or a bold glam finish, this guide will help you master the basics easily.
What are blush and Highlighter?
Before learning where to put blush and highlight, it’s important to understand what they do.
Blush
Blush adds color to your cheeks and makes your face look healthy and fresh.
Highlighter
Highlighter adds glow and shine to the high points of your face, making your skin look radiant.
Where to Put Blush and Highlight (Basic Placement Guide)
Let’s start with the most important part — where to put blush and highlight for a natural look.
Blush Placement (Step-by-Step)
Apply blush on:
-
The apples of your cheeks (when you smile)
-
Blend slightly upward towards your temples
This gives a lifted and youthful look.
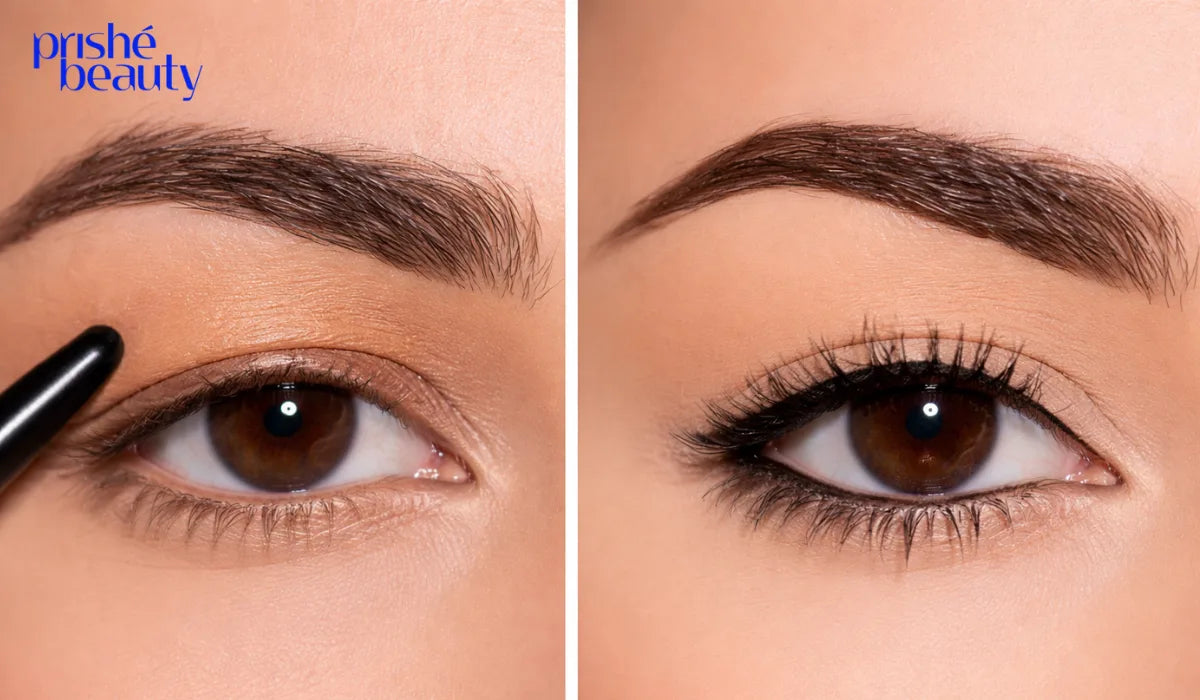
Highlighter Placement (Step-by-Step)
Apply highlighter on:
-
Top of cheekbones
-
Bridge of your nose
-
Brow bone
-
Cupid’s bow
-
Inner corners of eyes
These are the areas where light naturally hits your face.
Where to Put Blush and Highlight Based on Face Shape
Your face shape matters a lot when deciding where to put blush and highlight.
Round Face
-
Blush: Apply slightly above the apples and blend upward
-
Highlighter: Focus on cheekbones and center of face
Helps make your face look slimmer.
Oval Face
-
Blush: On apples and softly blended
-
Highlighter: Cheekbones and forehead
Balanced placement works best.
Square Face
-
Blush: Apply in circular motion on apples
-
Highlighter: Soften jawline and cheekbones
Softens sharp angles.
Heart-Shaped Face
-
Blush: Lower cheek area
-
Highlighter: Cheekbones and nose
Balances wider forehead.
Different Blush Placement Styles (2026 Trends)
If you want to experiment, here are trendy ways to apply blush:
1. Lifted Blush Look
-
Apply higher on cheekbones
-
Blend toward temples
Gives a snatched effect.
2. Sun-Kissed Look
-
Apply across cheeks and nose
Perfect for a natural summer glow.
3. Draping Technique
-
Blend blush from cheeks to temples
Adds drama and contour effect.
Benefits of Proper Blush and Highlight Placement
Understanding where to put blush and highlight offers many benefits:
-
Enhances your natural features
-
Makes your face look lifted
-
Adds healthy glow to dull skin
-
Creates a balanced makeup look
-
Improves overall appearance instantly
Pro Tips for Perfect Application
Here are some easy tips to master where to put blush and highlight:
-
Always blend well to avoid harsh lines
-
Use cream products for dry skin
-
Use powder products for oily skin
-
Apply highlighter lightly for daytime looks
-
Choose blush shades according to your skin tone
Practice makes perfect, so don’t worry if it’s not perfect at first.
Common Mistakes to Avoid
Many beginners make mistakes while learning where to put blush and highlight. Avoid these:
-
Applying too much blush
-
Placing blush too low on cheeks
-
Using too much highlighter (over-glow)
-
Not blending properly
-
Using wrong shade for your skin tone
Less is always more in makeup.
Expert Advice for Beginners
Makeup experts suggest:
-
Start with light layers and build gradually
-
Use natural lighting while applying makeup
-
Follow your face structure, not trends blindly
-
Invest in good quality products
You can explore beginner-friendly makeup products and guides at Prishe Beauty to improve your skills step by step.
Best Tools for Applying Blush and Highlighter
To get the best results while learning where to put blush and highlight, use:
For Blush
-
Fluffy blush brush
-
Cream blush sponge
For Highlighter
-
Fan brush
-
Small tapered brush
The right tools make blending easier.
FAQ: Where to Put Blush and Highlight
1. Where should beginners apply blush?
Beginners should apply blush on the apples of cheeks and blend upward toward temples.
2. Can I apply blush without highlighter?
Yes, but adding highlighter gives a glowing and complete look.
3. Where to put blush and highlight for natural makeup?
Blush on cheeks and highlighter lightly on cheekbones works best for a natural look.
4. Should I apply highlighter every day?
You can use a light highlighter daily for a subtle glow.
5. What is the best blush placement for a slim face look?
Apply blush higher on cheekbones and blend upward for a lifted effect.
Conclusion
Now you clearly understand where to put blush and highlight and how it can transform your makeup look. With the right placement, blending, and products, you can achieve a fresh, glowing, and natural finish every time.
Start simple, practice regularly, and soon you will feel confident creating your perfect look. Makeup is all about enhancing your natural beauty—so keep it easy and enjoy the process!